Big Frankenstein Rice Krispie Treat Recipe
Big Frankenstein Rice Krispie Treats are a fantastic way to add some monstrous fun to Halloween. This recipe takes the beloved classic crispy cereal treat and scales it up, giving it the iconic green hue and bolted look of Frankenstein’s monster. It’s surprisingly simple to assemble, using basic ingredients you likely already have in your pantry. The joy of making this giant treat is in its playful presentation; it’s the kind of centerpiece that elicits gasps and giggles from kids and adults alike. Unlike smaller treats, this one is designed to be a shared experience, perfect for cutting into giant slices at a party or as a special weekend project. Get ready to build your own edible legend with this fun, family-friendly recipe that guarantees smiles and spooky excitement.
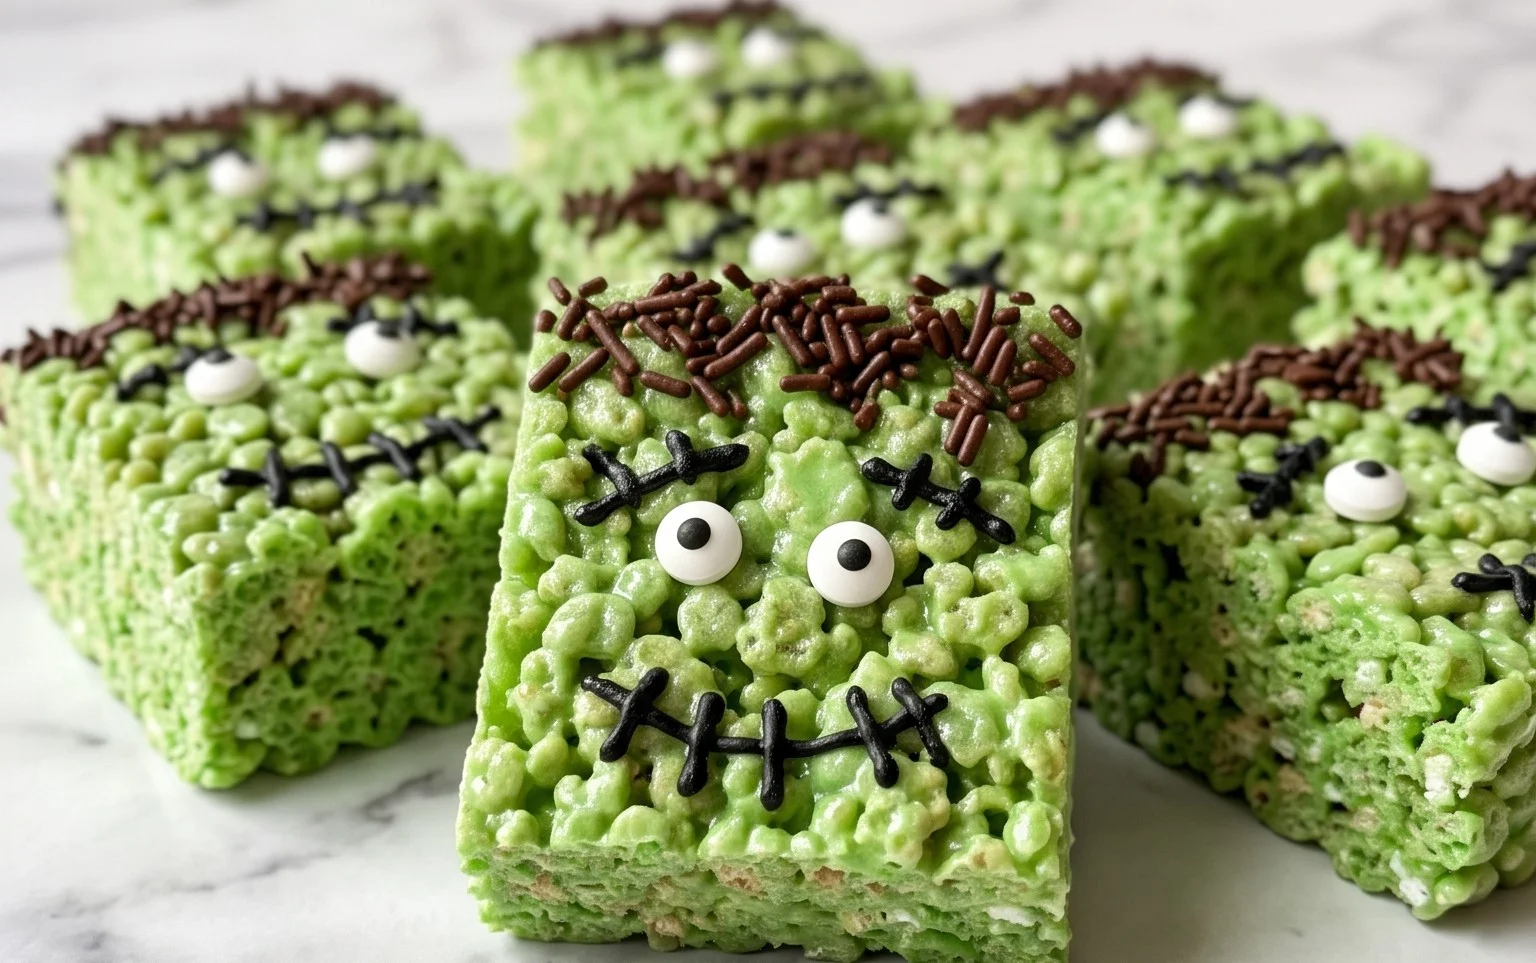
Big Frankenstein Rice Krispie Treat
This towering Frankenstein monster is more than just a giant Rice Krispie treat; it’s a fun, edible project perfect for Halloween parties or just to get into the spooky spirit. Imagine pulling out a treat that’s literally as big as your head, molded into the iconic shape of everyone’s favorite stitched-up friend. It’s delightfully goofy, surprisingly easy to make, and guaranteed to be a showstopper. We’re going to use simple pantry staples and a bit of food coloring to bring this sweet legend to life.
Ingredients:
- 3/4 cup unsalted butter
- 1 1/2 10 ounce bags mini marshmallows
- Green food dye
- 1/2 teaspoon pure vanilla extract
- 9 cups rice krispies (generic brand works great too)
- 1/2 cup melted chocolate or chocolate frosting (for the hair and mouth)
- Sprinkles
- 1 large marshmallow
- 2 brown M&Ms or junior mints
- 1 pokey stick (or you can use extra melted chocolate)
Bringing the Monster to Life: Step-by-Step Instructions
Making this giant Frankenstein starts with the classic Rice Krispie treat base, but with a spooky green twist. You’ll need a large pot for melting the butter and marshmallows, and a substantial greased surface to work on. I like to use a large baking sheet or even a clean cutting board that has been generously greased with butter or non-stick spray. This is important because once the mixture starts to cool, it gets sticky very quickly, and you want to be able to mold it without it clinging to everything.
1. Melting the Base and Adding the Green Hue
Begin by melting the 3/4 cup of unsalted butter in a large pot over low heat. It’s crucial to use low heat here; we don’t want the butter to brown or the marshmallows to scorch. Once the butter is fully melted, add both 10-ounce bags of mini marshmallows to the pot. Stir them continuously with a spatula, still on low heat. You’re looking for the marshmallows to be completely melted and smooth, like a thick, sticky sauce. This can take a few minutes, so be patient. Once the marshmallows are smooth, remove the pot from the heat. Now comes the fun part for color. Add your green food dye, starting with a few drops and stirring it in. Keep adding food dye, stirring well after each addition, until you achieve a vibrant, Frankenstein-esque green color. Don’t be afraid to go a little darker than you think you need, as the rice krispies will lighten the color slightly. Stir in the 1/2 teaspoon of pure vanilla extract for a touch of extra flavor that complements the sweet marshmallow.
2. Incorporating the Rice Krispies
With the melted marshmallow mixture a beautiful green, it’s time to add the 9 cups of rice krispies. Do this gradually, adding about a third of the cereal at a time and gently folding it into the marshmallow mixture. Stir until the cereal is just coated. Over-stirring can break down the cereal and lead to a denser, less airy treat. Continue adding the rice krispies in batches, mixing until everything is evenly combined and coated in the gooey green marshmallow. The mixture will start to feel quite stiff as you incorporate all the cereal, so you might need to use a sturdy spatula or even your hands (lightly greased, of course!).
3. Shaping the Frankenstein Head
Now, quickly turn the mixture out onto your prepared greased surface. You need to work fast before it hardens too much. Grease your hands generously with butter or non-stick spray. Begin to shape the Rice Krispie mixture into the basic form of a large, slightly flattened sphere or an oval, which will be Frankenstein’s head. Don’t worry about perfection at this stage; we’re just getting the main shape down. You can press it into place, smoothing the sides as you go. If it’s too sticky, re-grease your hands. If it feels too stiff, you can try gently reheating the pot with the residual marshmallow on the bottom to make it more pliable, or you can carefully add a tiny bit more melted butter to your hands to help mold it.
4. Adding the Facial Features
Once the head shape is mostly formed, it’s time to give Frankenstein his distinctive features. For the eyes, take the large marshmallow and cut it in half. You can either press these halves directly into the green treat to create the sockets or use a small amount of melted chocolate to secure them. Then, take your two brown M&Ms or junior mints and place one on top of each marshmallow half to represent the eyeballs. For the mouth, you can use your melted chocolate or chocolate frosting. You can either draw a jagged, stitched mouth directly onto the green treat or use the pokey stick (or an extra bit of melted chocolate) to create the stitches. If you’re using the pokey stick, you can carefully push it into the treat to create indentations for the stitches and then fill those indentations with small dots of melted chocolate. This creates a more textured, defined mouth.
5. Creating the Hair and Final Touches
To complete our Frankenstein, we need his signature hair. Use the remaining melted chocolate or chocolate frosting for this. You can pipe it on using a bag with a small tip, or if you don’t have one, you can snip a tiny corner off a ziplock bag and use that. Create jagged lines or messy tufts of hair around the top and sides of the head. This is where you can really get creative! For an extra festive touch, you can also sprinkle some Halloween-themed sprinkles onto the chocolate hair while it’s still wet, or even around the base of the treat. Let the chocolate set for a bit before moving the treat. This whole process, from melting to decorating, is a fun way to spend an afternoon, and the result is a treat that’s as impressive to look at as it is to eat. Store any leftover melted chocolate in an airtight container at room temperature for future decorating needs.
Conclusion:
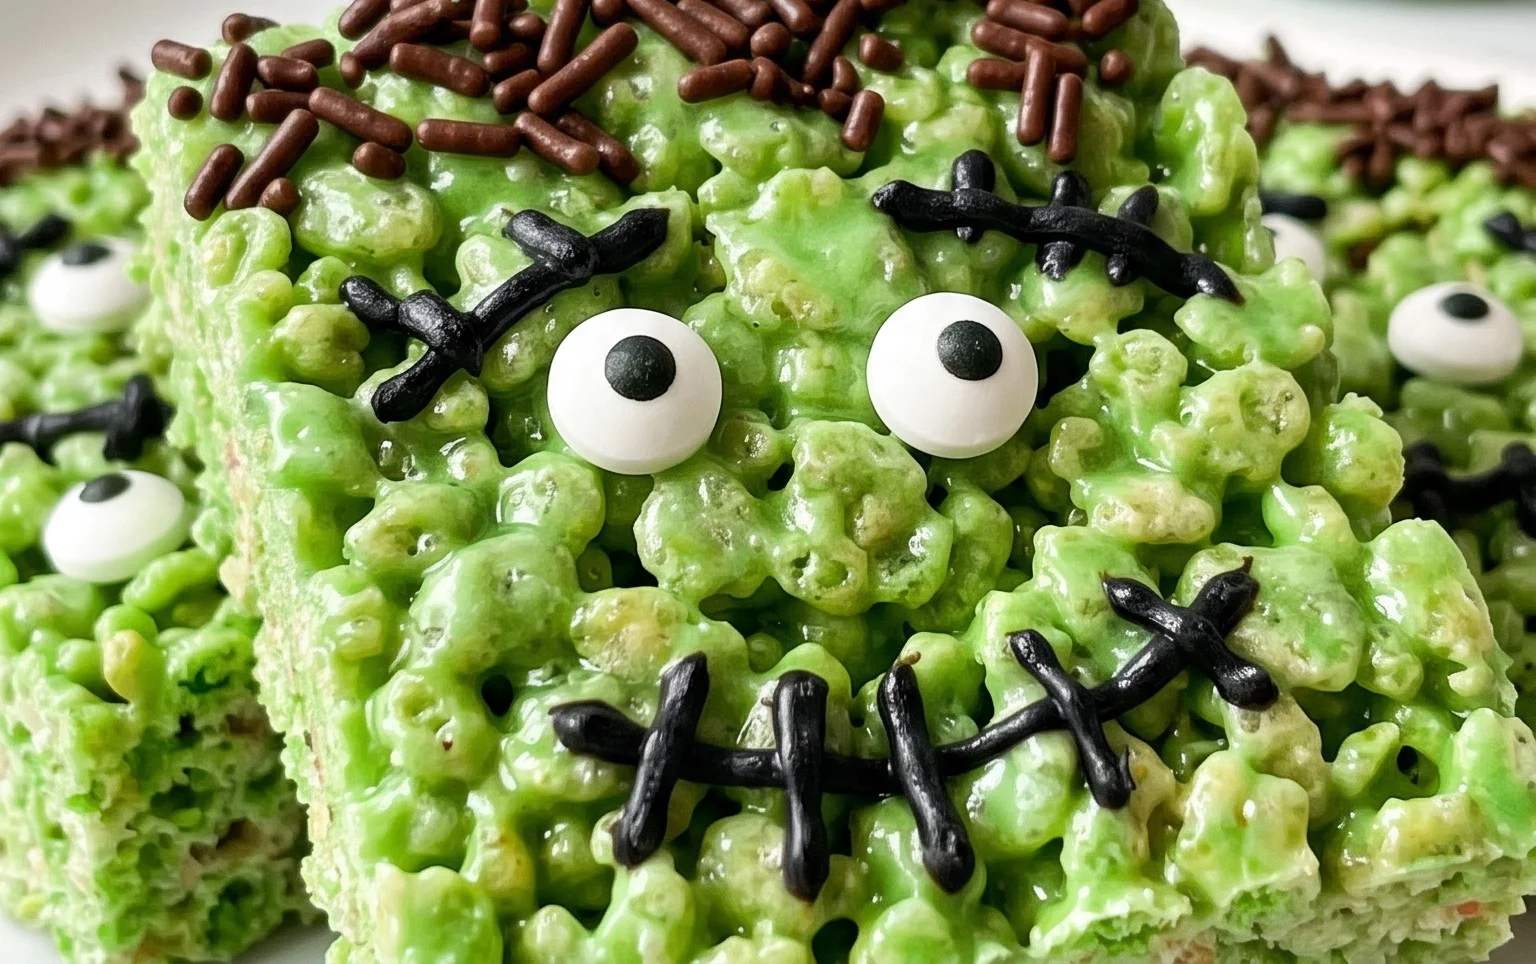
This Big Frankenstein Rice Krispie Treat is more than just a dessert; it’s a giant, edible craft project that brings spooky fun to any Halloween celebration. Its imposing size and familiar monster shape make it a memorable centerpiece, and the simple preparation means you can focus on the fun of decorating. It’s a crowd-pleaser that’s sure to get everyone talking and laughing.
Serving Suggestions:
Cut this monster treat into generous slices. It pairs wonderfully with Halloween-themed milkshakes or hot chocolate. For younger monsters, serve smaller wedges. It also makes a fantastic dessert to share at a Halloween potluck, just be sure to bring a big knife!
Variations:
Want to change up the look? You could use purple or orange food coloring for a different monster vibe. For extra spooky details, add candy eyeballs or use black licorice laces for stitches. If chocolate frosting is too rich, try using melted white chocolate dyed black for the hair and mouth.
Frequently Asked Questions:
How do I store the Big Frankenstein Rice Krispie Treat?
Store any leftovers at room temperature in an airtight container for up to 3 days. If it’s very warm where you are, you might want to add a small ice pack to the container to prevent it from getting too soft, though it usually holds up well.
Can I make this treat ahead of time?
Yes, you can definitely make the giant Rice Krispie treat base a day in advance. Let it cool completely, wrap it tightly in plastic wrap, and then shape and decorate it the day you plan to serve it for the freshest taste and best texture.
What if I don’t have a large enough surface to shape it?
If you don’t have a large baking sheet or cutting board, you can shape the mixture directly in the greased pot it was made in, creating a thick, flat base that can then be cut or molded further. Alternatively, use two large baking sheets side-by-side, greased well.
Big Frankenstein Rice Krispie Treat
A giant, festive Frankenstein-themed Rice Krispie treat, perfect for Halloween parties.
Ingredients
-
3/4 cup unsalted butter
-
1 1/2 10 ounce bags mini marshmallows
-
green food dye
-
1/2 teaspoon pure vanilla extract
-
9 cups rice krispies
-
1/2 cup melted chocolate
-
sprinkles
-
1 large marshmallow
-
2 brown m&ms
-
1 pokey stick
Instructions
-
Step 1
Grease a large bowl or a 9×13 inch pan with butter or cooking spray. This will be the mold for your Frankenstein head. -
Step 2
In a large pot, melt the unsalted butter over low heat. Add the mini marshmallows and stir continuously until completely melted. -
Step 3
Remove the pot from the heat. Stir in the green food dye until desired Frankenstein color is achieved. Add the pure vanilla extract and mix well. -
Step 4
Gradually add the rice krispies cereal to the marshmallow mixture, stirring until evenly coated. Make sure all the cereal is coated. -
Step 5
Pour the mixture into the greased bowl or pan. Use a buttered spatula or your hands (lightly greased) to press the mixture firmly into the mold, shaping it into a round or slightly oval head. -
Step 6
Let the treat cool and set for at least 15 minutes. -
Step 7
Once set, carefully invert the treat onto a serving platter. If using a pan, you can cut it into a head shape. -
Step 8
Melt the chocolate or prepare the chocolate frosting. Use it to create Frankenstein’s hair on top of the head and his mouth below. -
Step 9
Use the pokey stick to create two small holes for eyes. Insert the 2 brown m&ms into the holes for eyes. Place the large marshmallow (cut in half) above the mouth for the forehead. -
Step 10
Decorate with sprinkles as desired, perhaps for stitches or accents.
Important Information
Nutrition Facts (Per Serving)
It is important to consider this information as approximate and not to use it as definitive health advice.
Allergy Information
Please check ingredients for potential allergens and consult a health professional if in doubt.